- UID
- 5169113
- 性别
- 保密
- 注册时间
- 2018-5-28
- 威望
-
- 金币
-
- Z币
-
- 听众
|
本帖最后由 libAIzibubai 于 2018-10-18 17:16 编辑
讲道理,学会这个,N1就可以直接当个路由器了,隔壁人才济济啊。
1. 先开启 3.14 内核无线模块
- modprobe dhd && echo dhd >> /etc/modules
2. 由于和后续的 dnsmasq 冲突,需要关掉系统自带的 systemd-resolved 服务
- systemctl stop systemd-resolved
- systemctl disable systemd-resolved
3. 安装要用的 dnsmasq 和 net-tools 组件
- apt install dnsmasq net-tools
4. 下载并安装 create_ap 工具
- git clone https://github.com/oblique/create_ap
- cd create_ap/
- make install
5. 将以下内容保存至 /usr/bin/startap 。注意别忘了修改 YourSSIDHere YourPasswordHere 两个参数。如果有需要使用 2.4GHz 网络的,请去掉 --freq-band 5 --ieee80211ac 参数
- #!/bin/bash
- nohup /usr/bin/create_ap wlan0 eth0 YourSSIDHere YourPasswordHere --freq-band 5 --ieee80211ac --no-virt > /dev/null 2>&1 &
随后执行
- chmod +x /usr/bin/startap
6. 最后添加开机自启动项,将以下内容保存至 /usr/lib/systemd/system/ap.service
- [Unit]
- Description=ap
- After=network.target
- [Service]
- Type=forking
- ExecStart=/usr/bin/startap
- PrivateTmp=true
- [Install]
- WantedBy=multi-user.target
并执行
- chmod +x /usr/lib/systemd/system/ap.service
- systemctl enable ap
- systemctl start ap
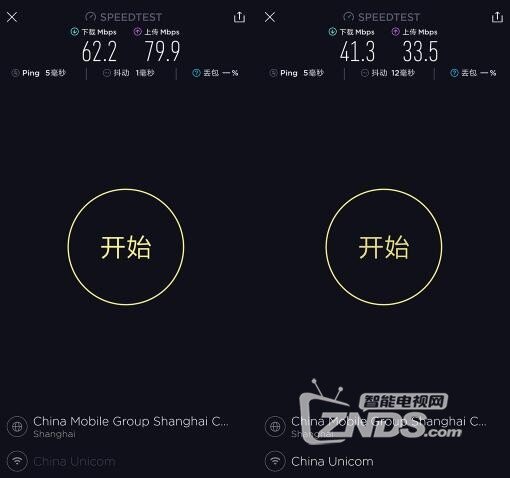
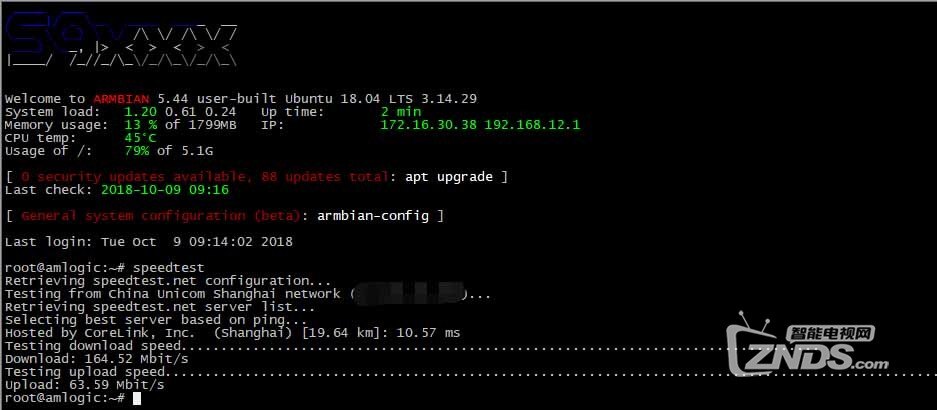
这是在 5GHz 下的测速结果
来源: jshensh
更多资讯敬请关注智能电视网
海量精品智能电视专用应用关注当贝市场
http://www.dangbei.com/
|
|
 /2






 雷达卡

 发表于 2018-10-9 14:47

 提升卡
 置顶卡
 变色卡
 千斤顶


